

TRIP REPORT PHOTOS
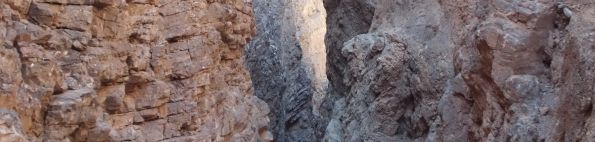
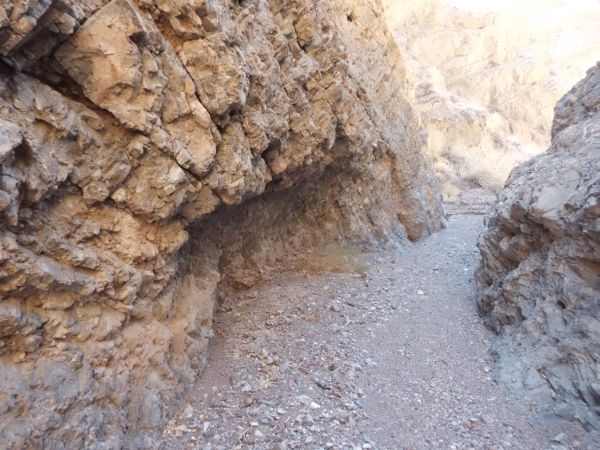
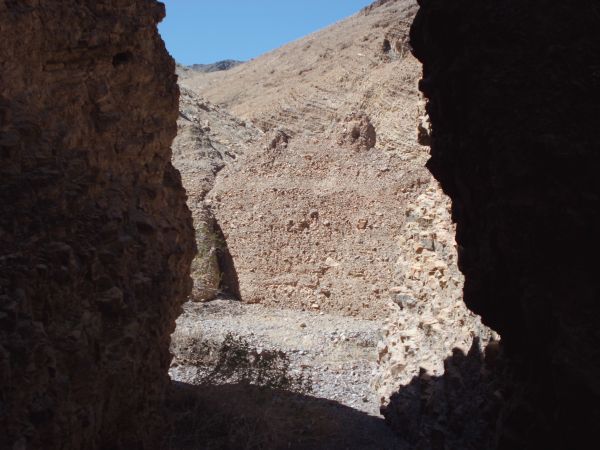
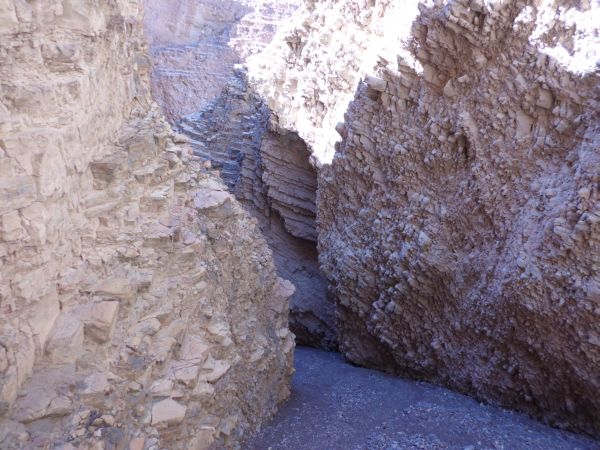
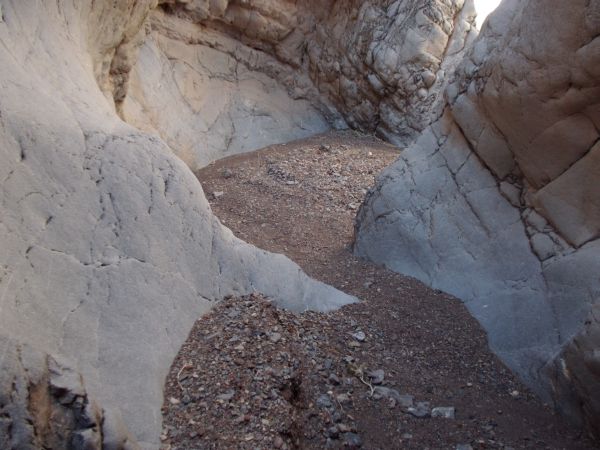
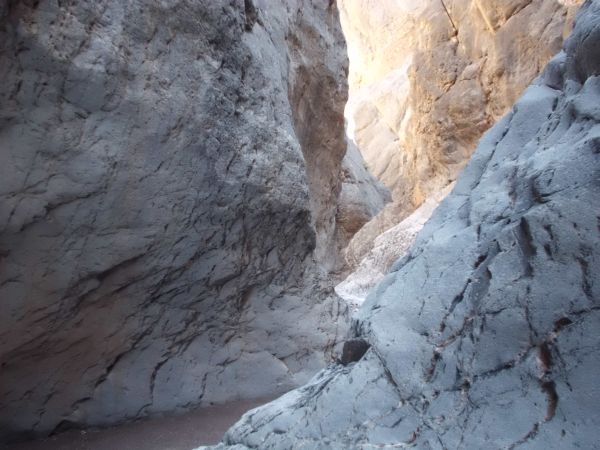
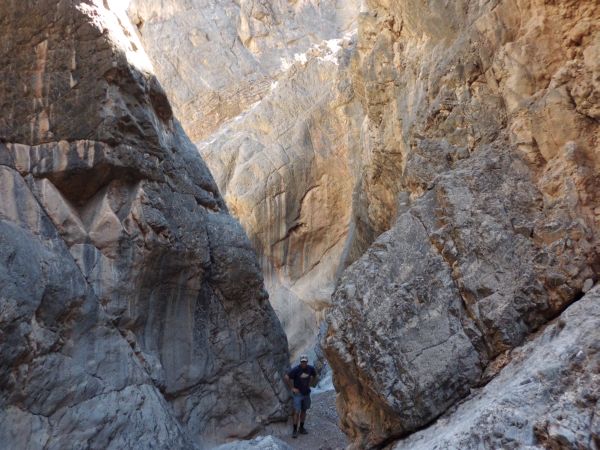
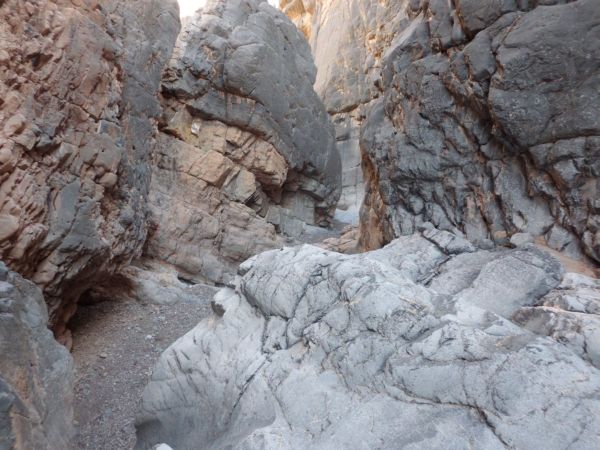
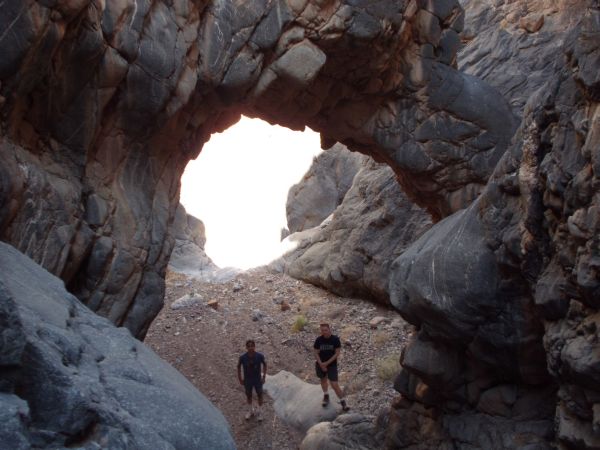
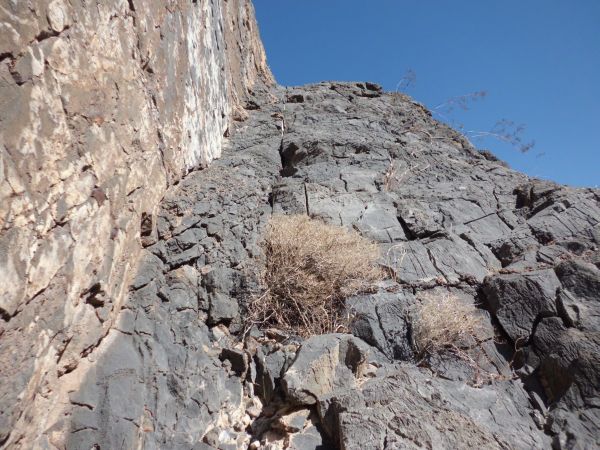
Overlooking the mouth of Hidden Bridge Canyon. I followed the slope up to the left and dropped into the canyon on the other side. Later in the day, I would bypass back out on the right side, which as you can see is a fair bit steeper and trickier to deal with:
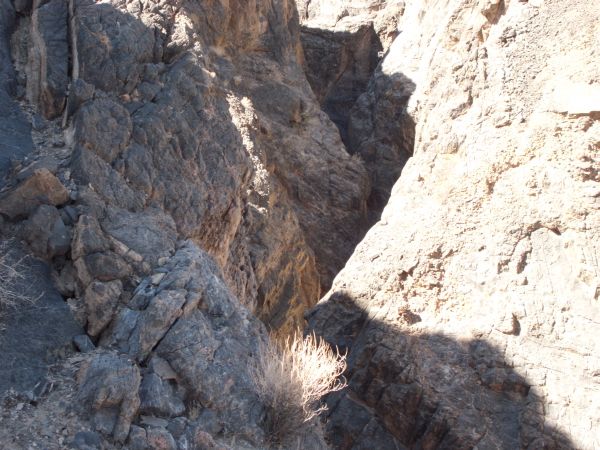
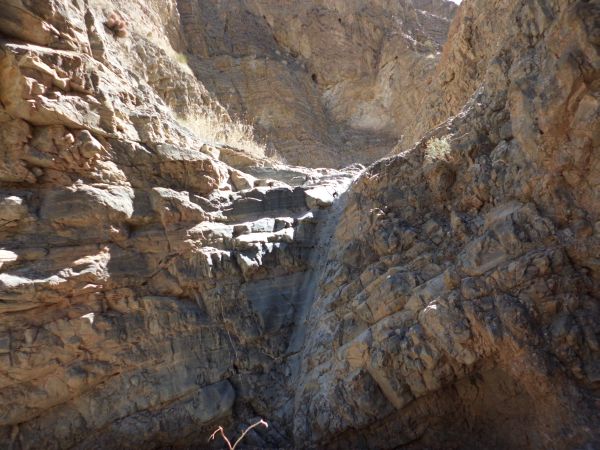
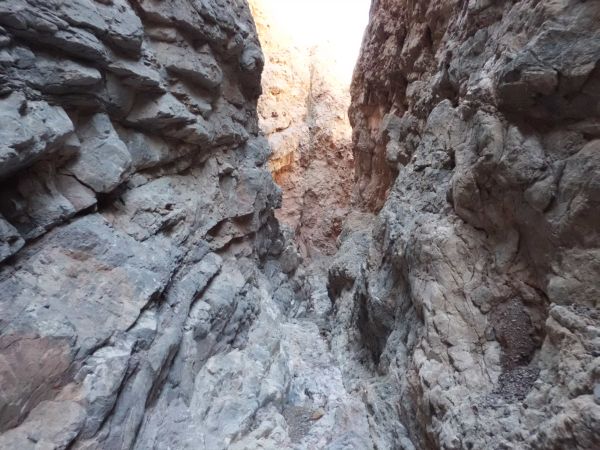
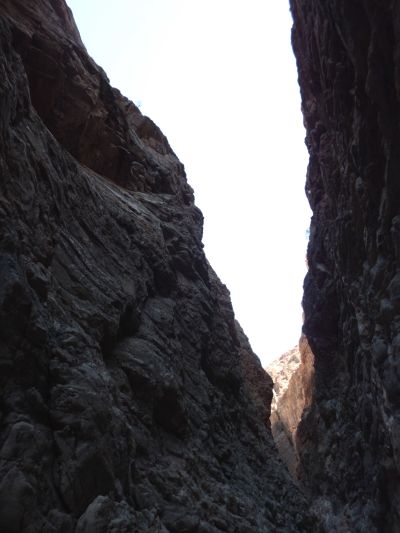
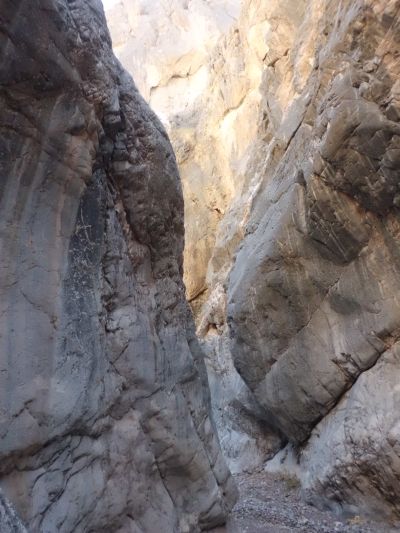
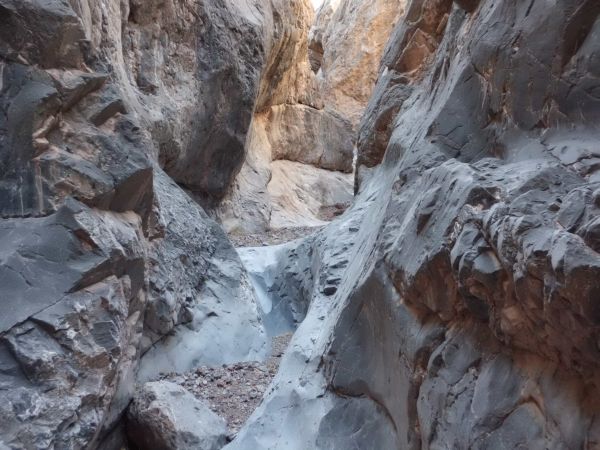
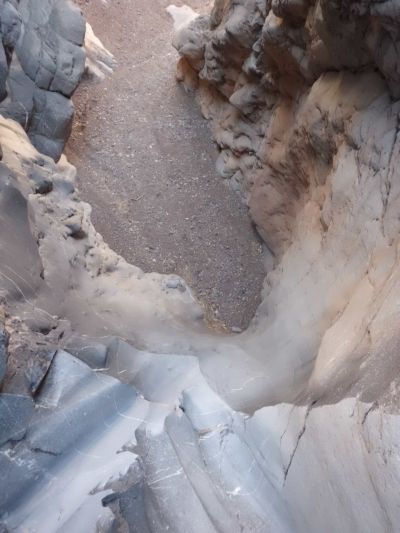
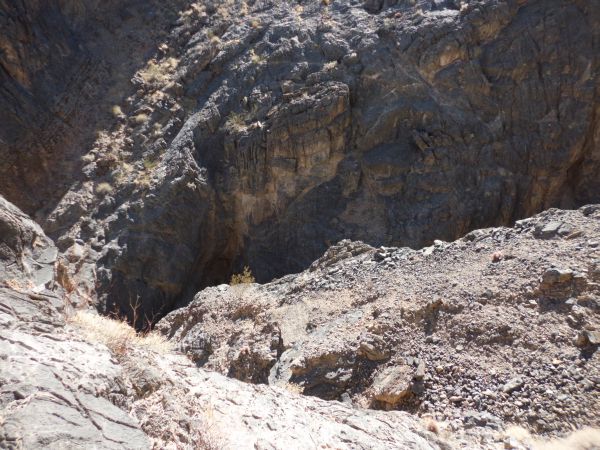
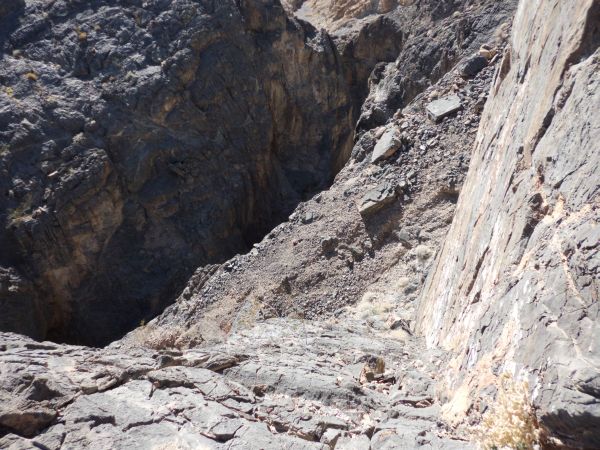
On the hike up the bypass, I wandered over to the edge and looked down into the 1st Narrows:
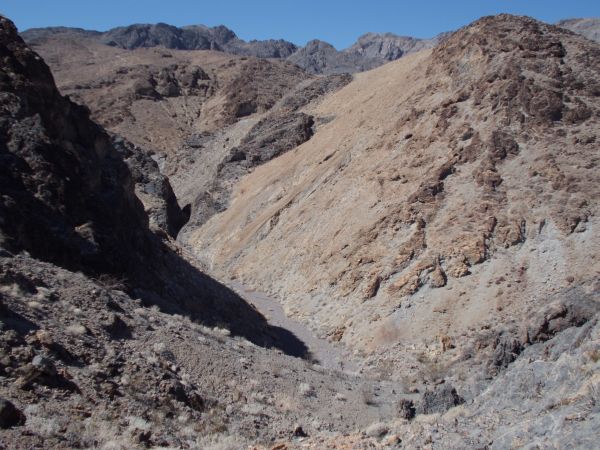
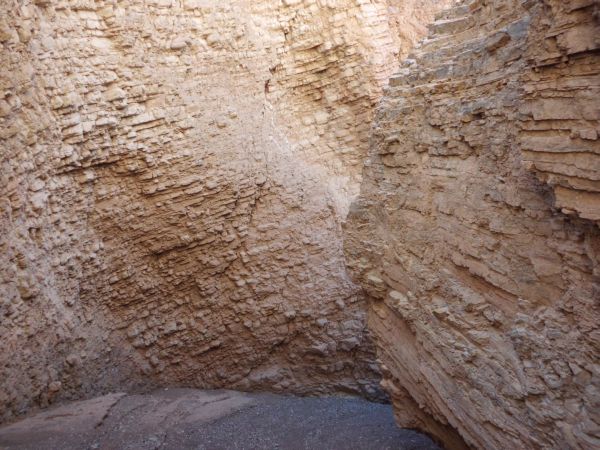
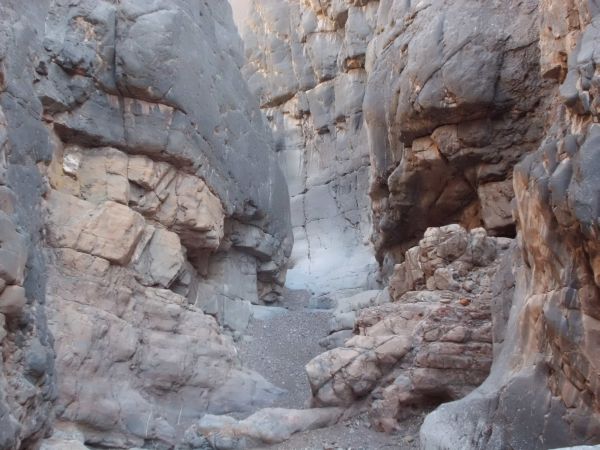
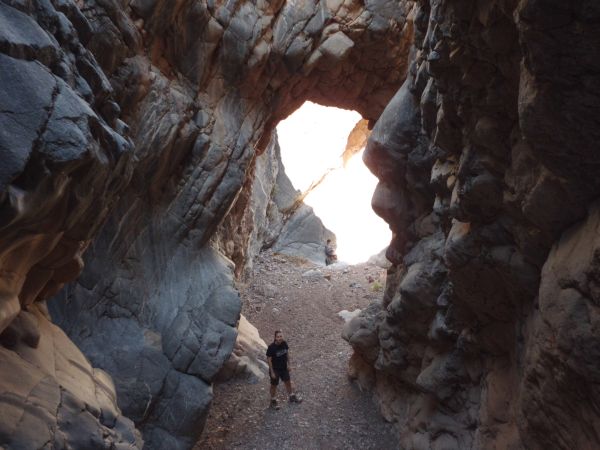
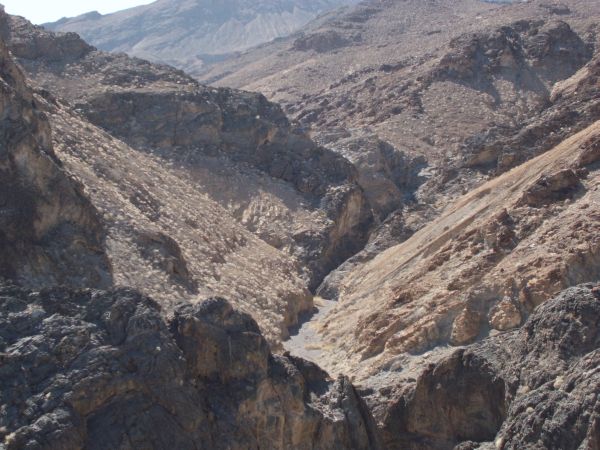
View from the top of the bypass looking down into Middle Hidden Bridge Canyon. The bypass turned out to be way easier than anticipated, after months of wondering just how hard it would be:
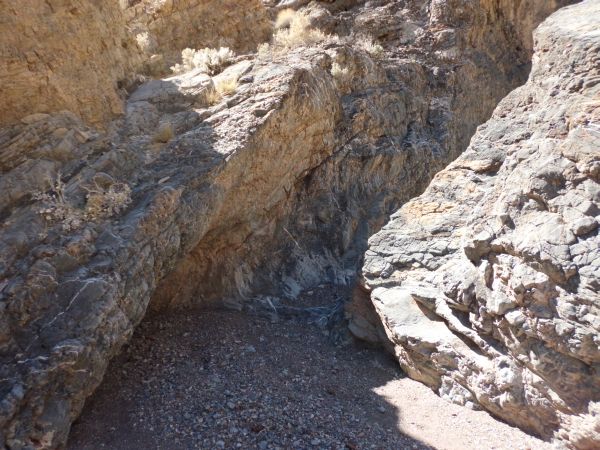
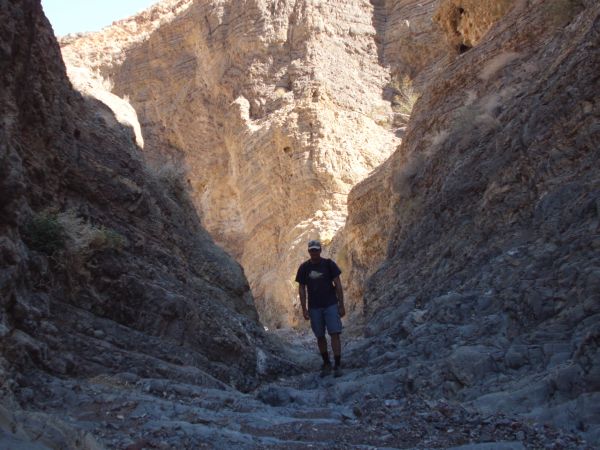
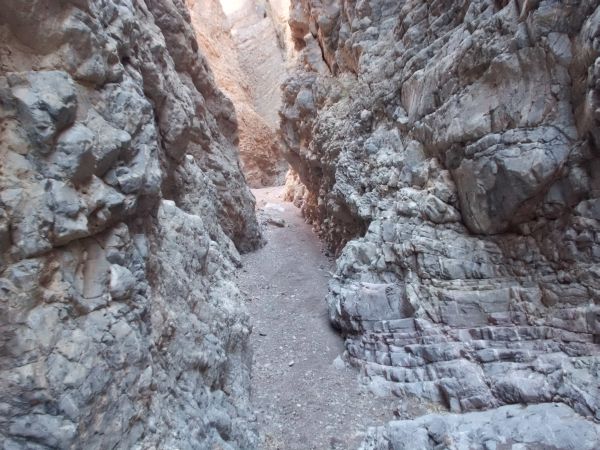
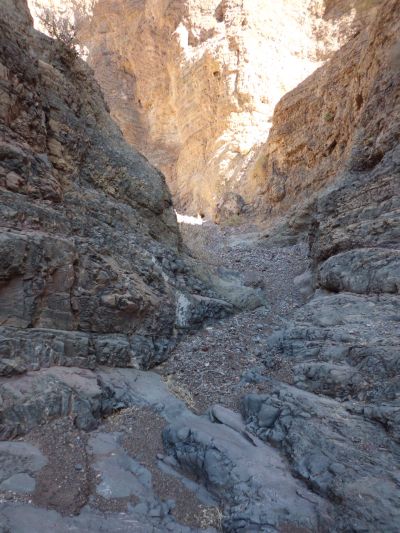
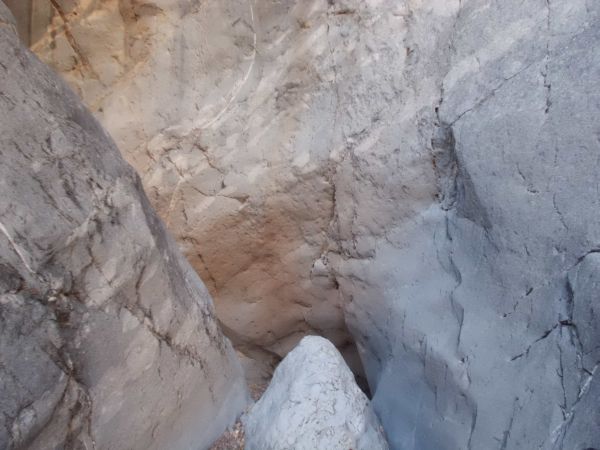
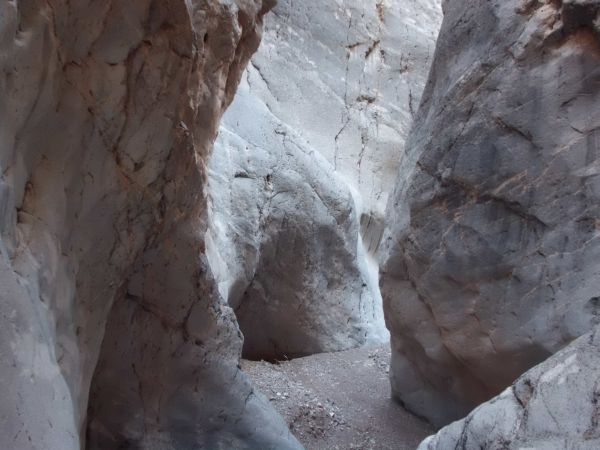
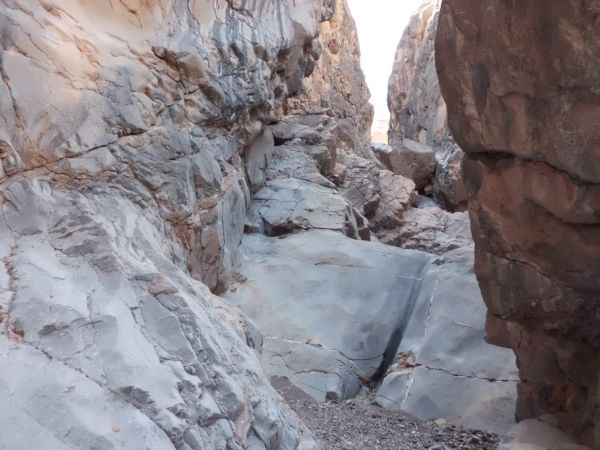
On the canyon floor now, heading up canyon:
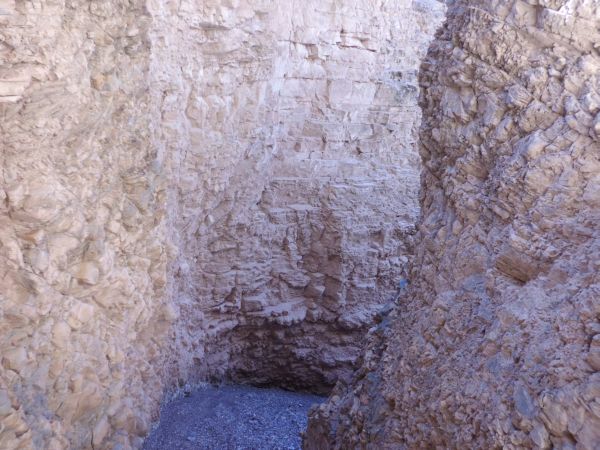
Virtually the whole canyon is narrow like this. So I decided to label the narrows by way of specific interesting sections which are divided into three areas:
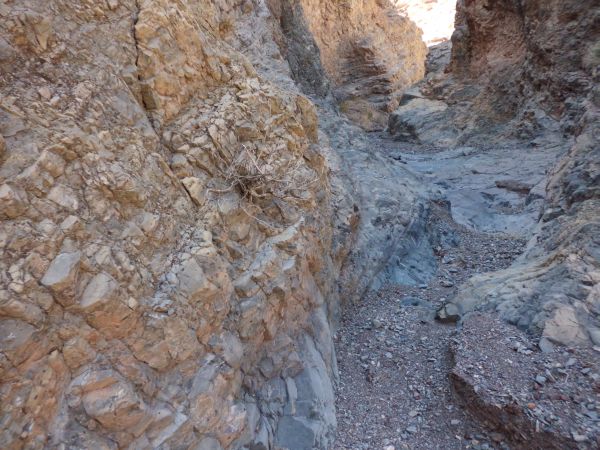
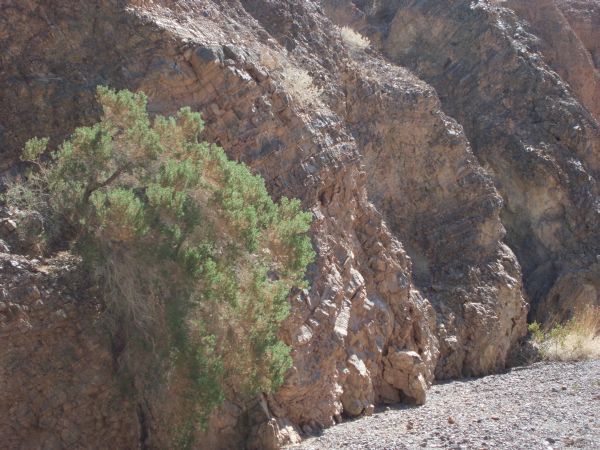
Navigating around a small tree growing out of the narrow wash:
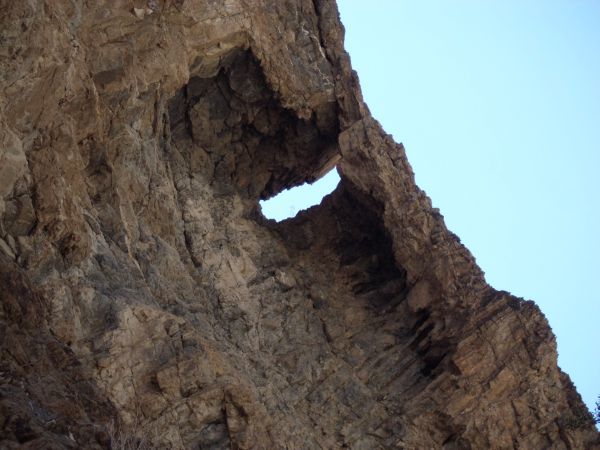
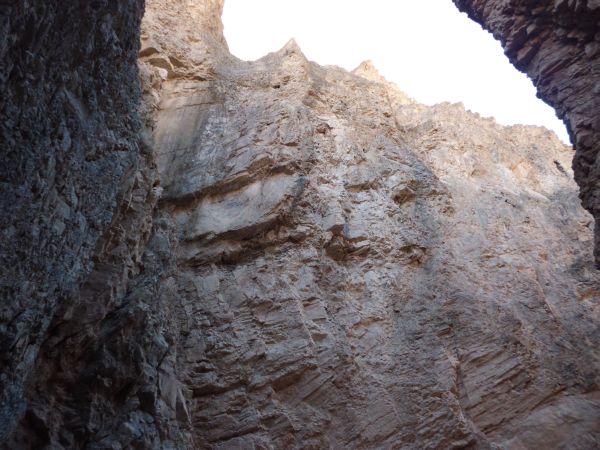
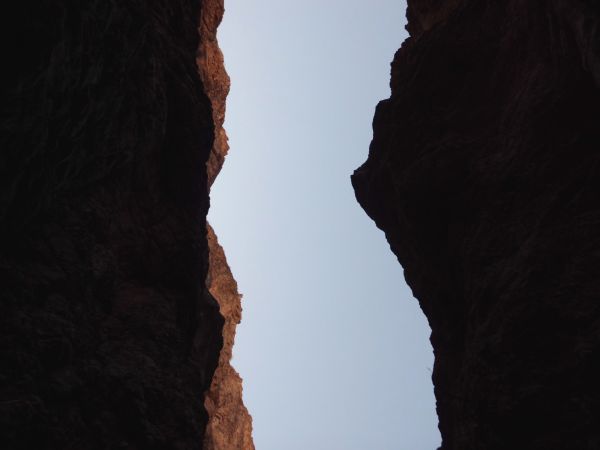
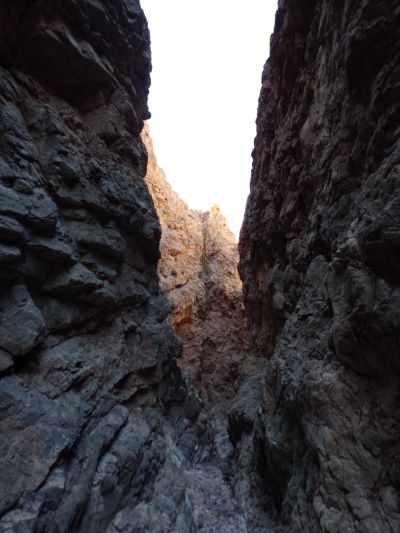
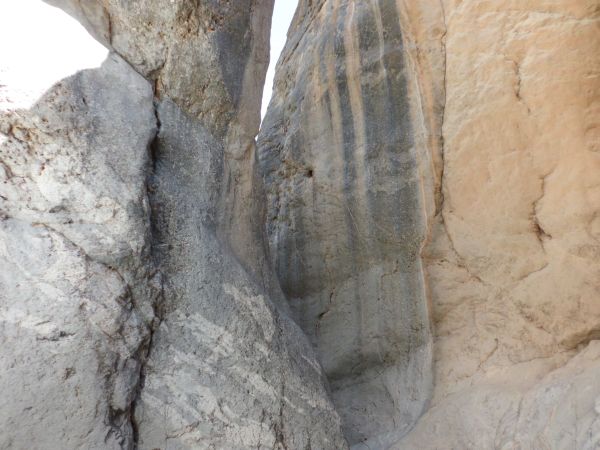
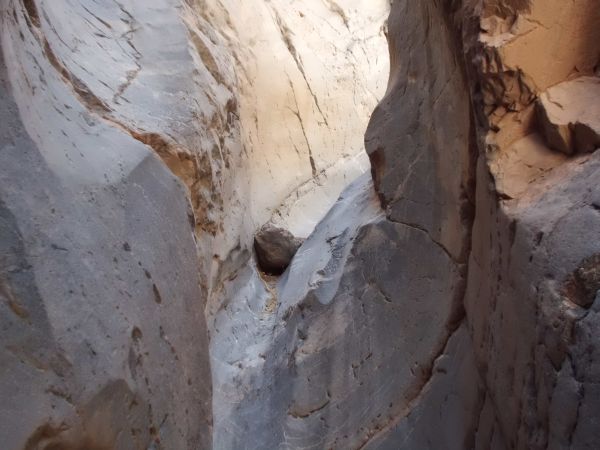
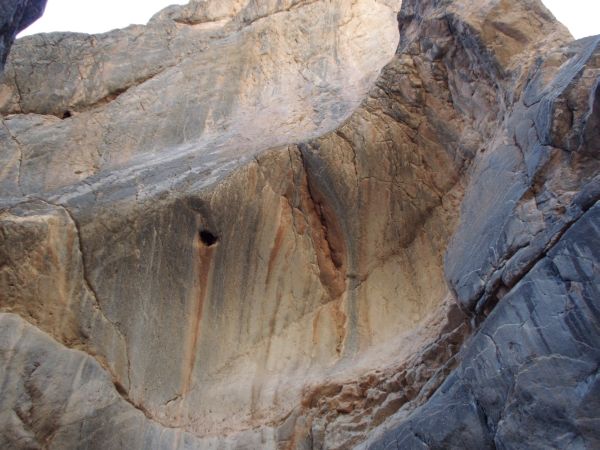
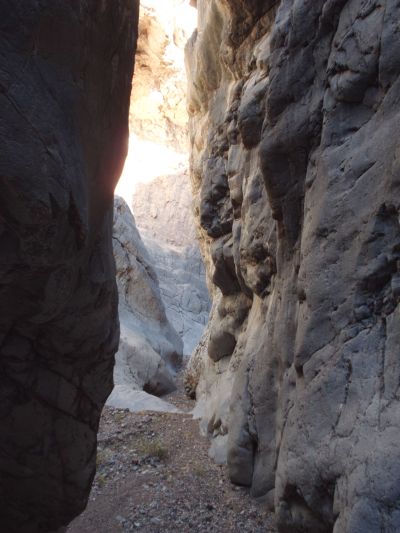
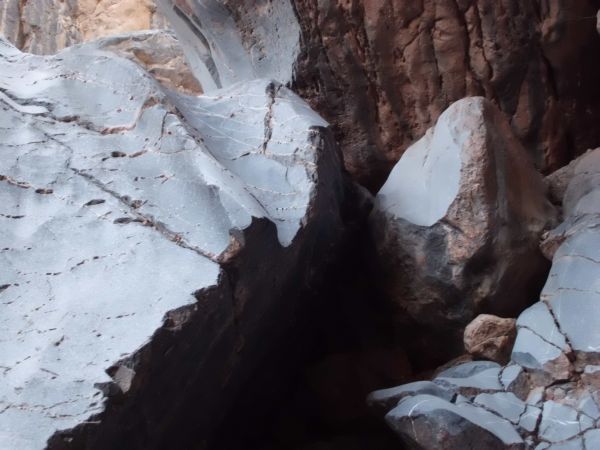
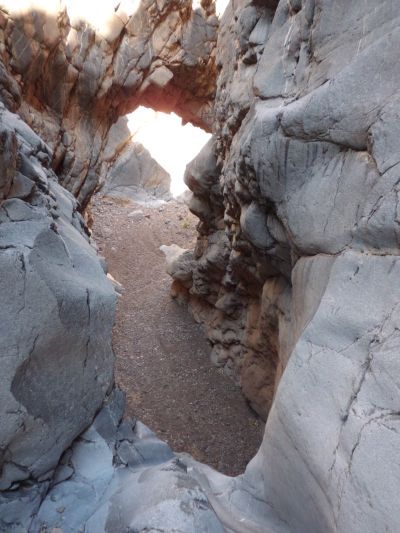
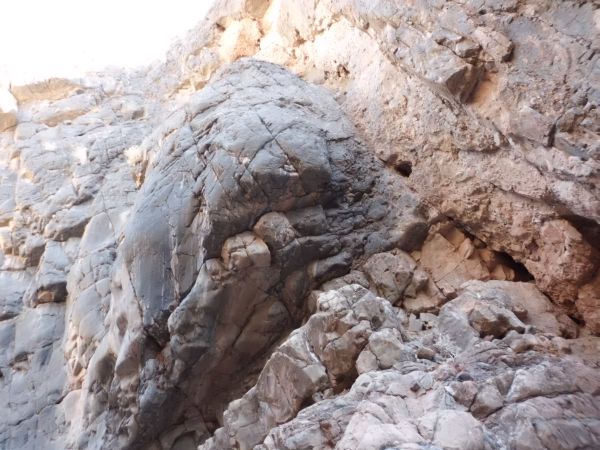
An opening in the rock wall high above the canyon floor:
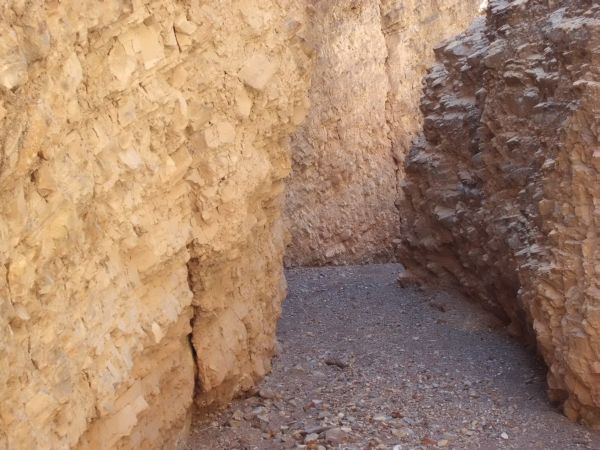
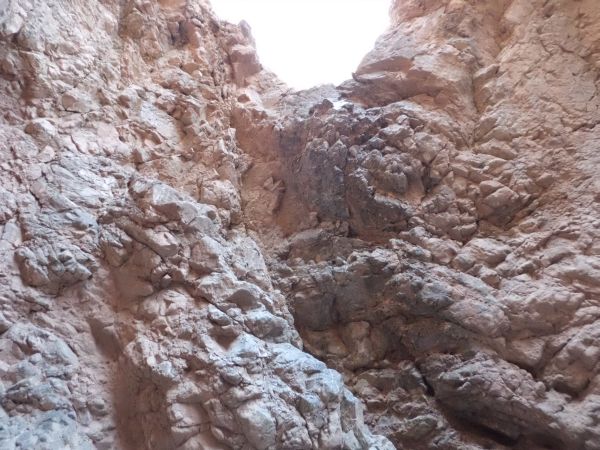
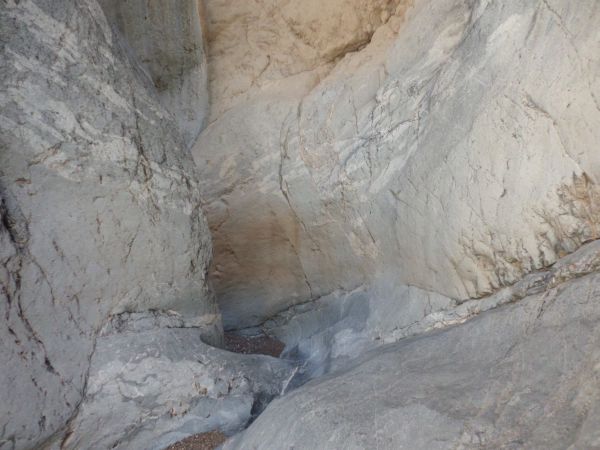
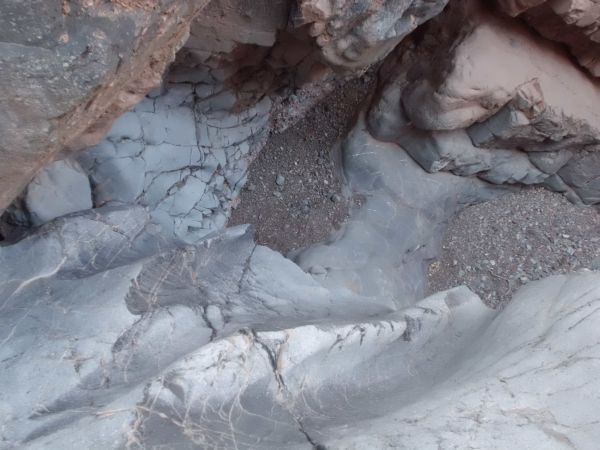
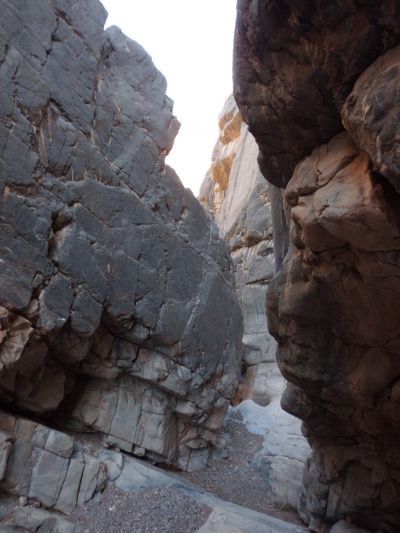
A lot of beauty even in the sections which I have not specifically labeled as narrows:
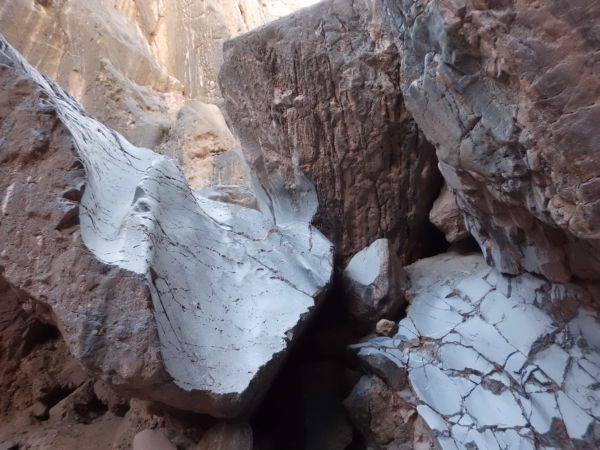
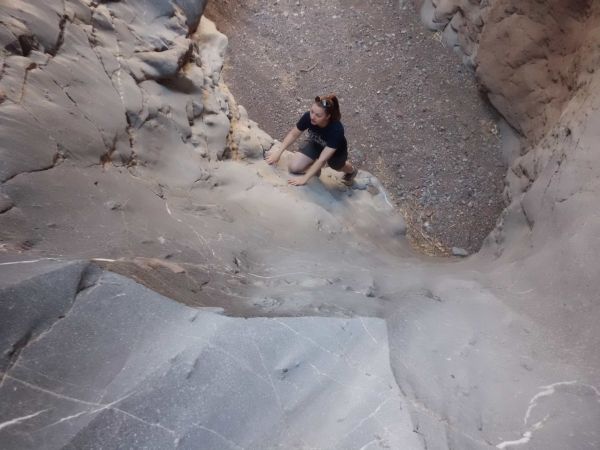
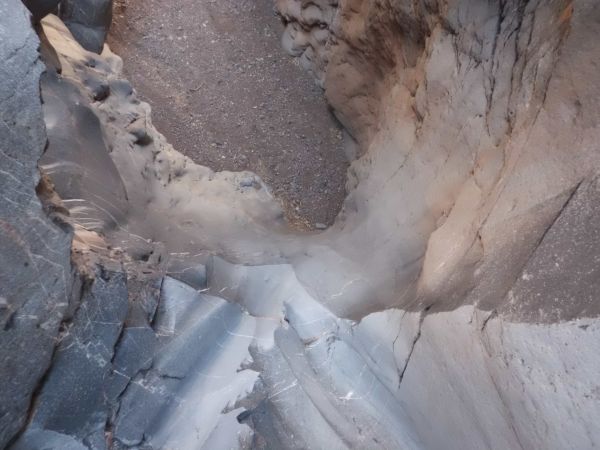
A small dry fall that is easy to climb:
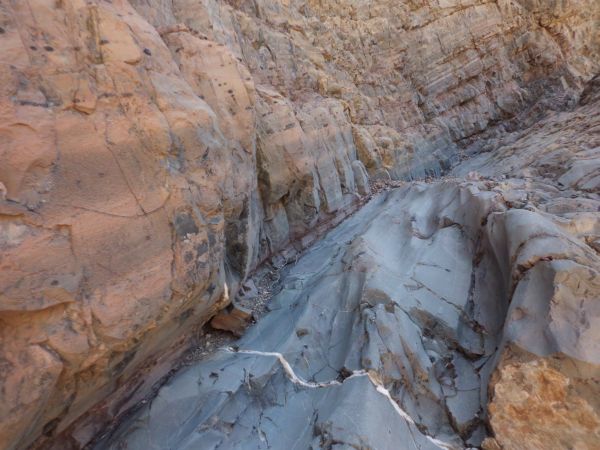
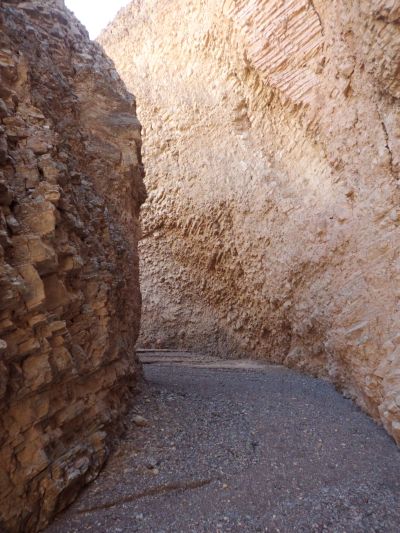
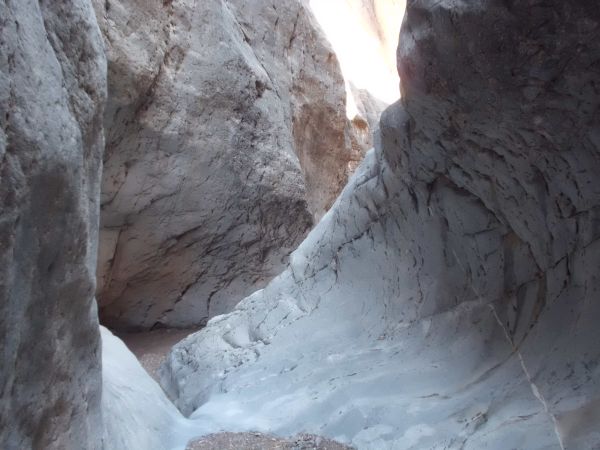
Hiking on a polished rock walkway in the canyon:
That's the thing about Hidden Bridge Canyon, the entire place has fantastic scenery. That's what sets this place apart from the other canyons:
Hiking up a shaded section of Middle Hidden Bridge Canyon:
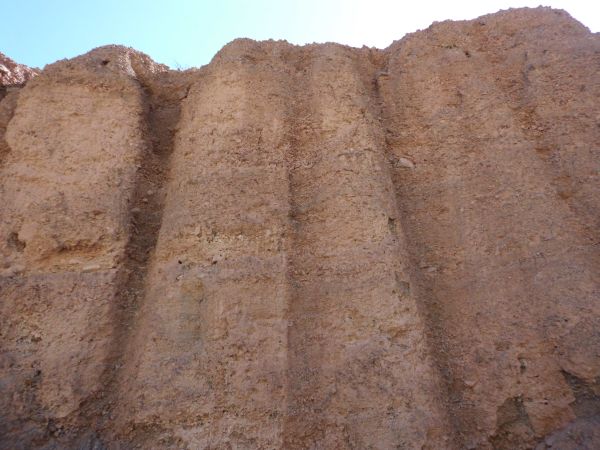
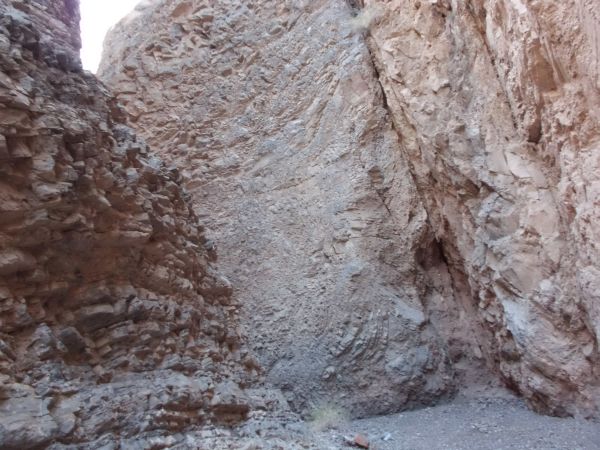
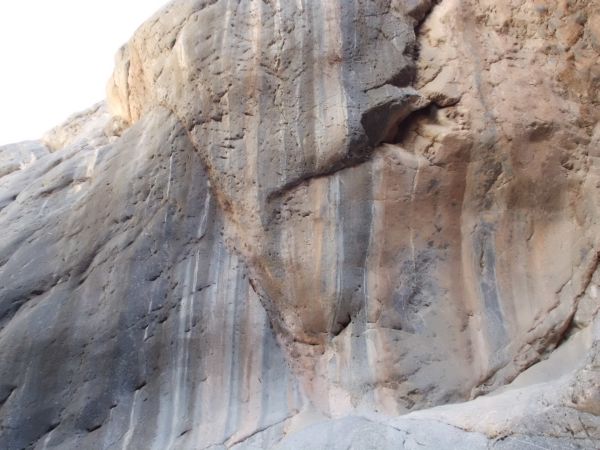
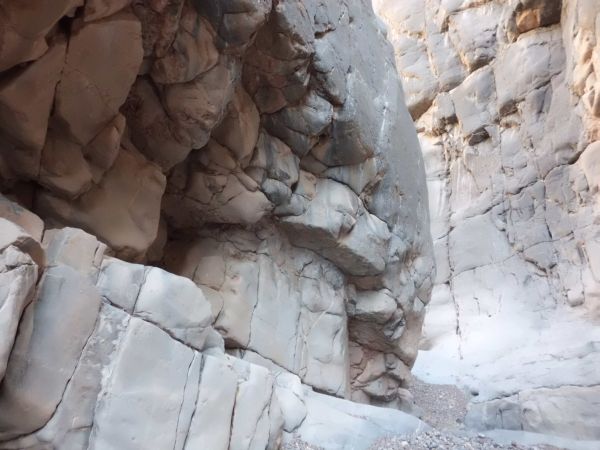
Very interesting rock formations in the next two pictures:
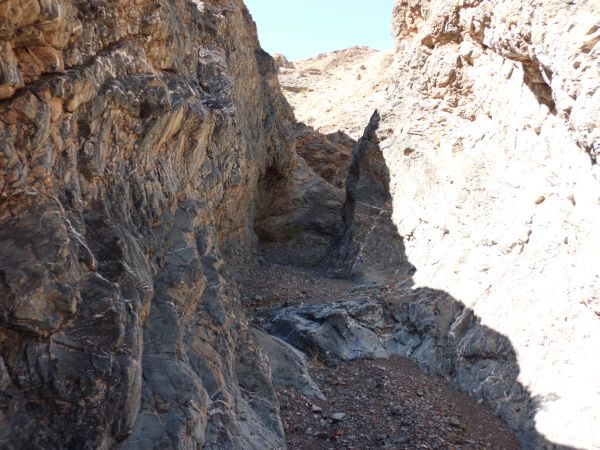
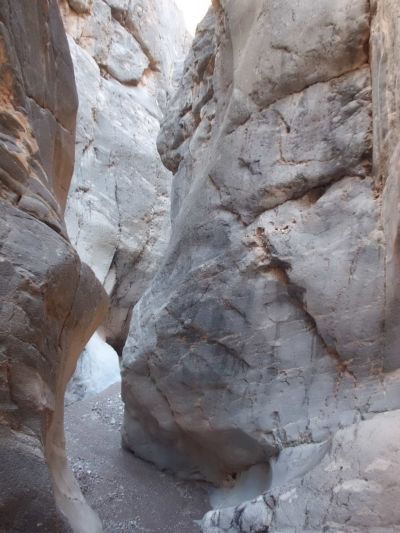
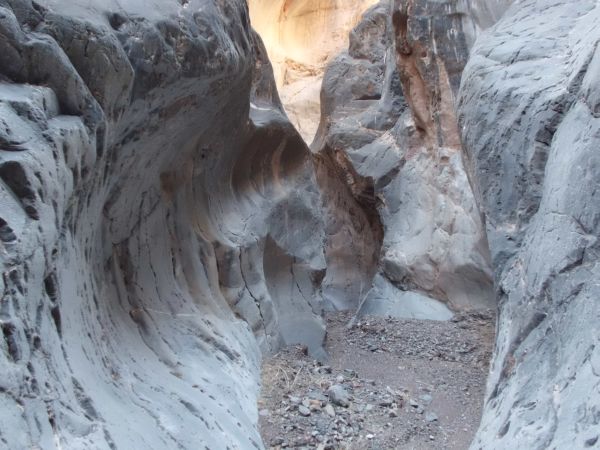
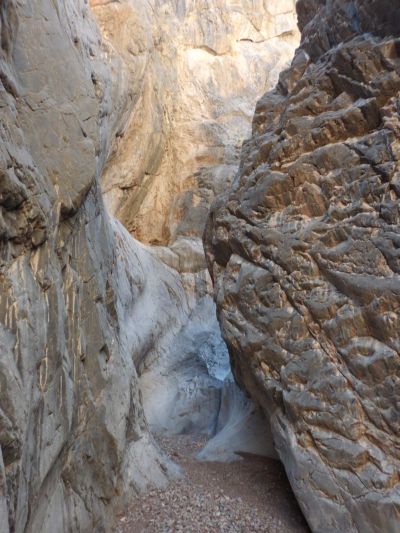
Now walking through the 2nd Narrows of Hidden Bridge Canyon:
The 2nd Narrows are quite interesting. The only other place I have really seen narrows similar to these was in Grave Canyon:
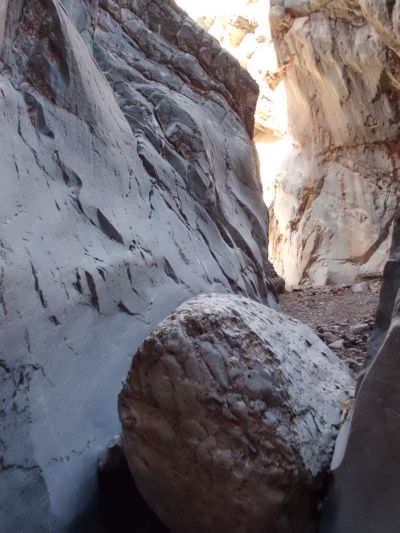
Very tight passages to walk through in the 2nd Narrows:

These narrows were very windy with lots of turns and very few straightaways:
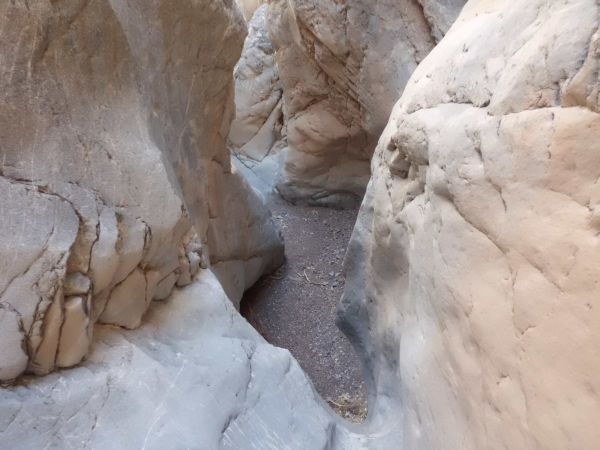
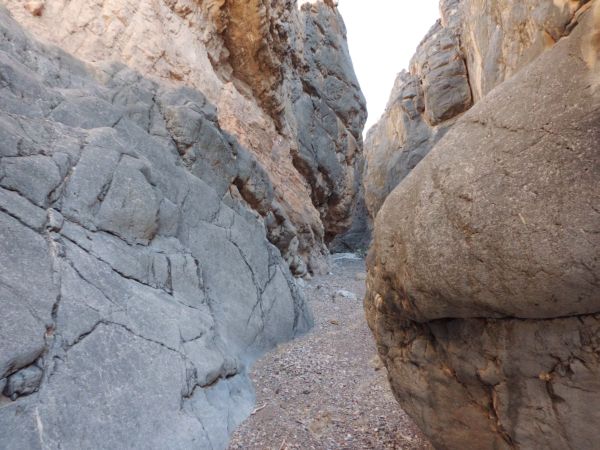
Also the wash was clear of any debris and it was easy to walk on:
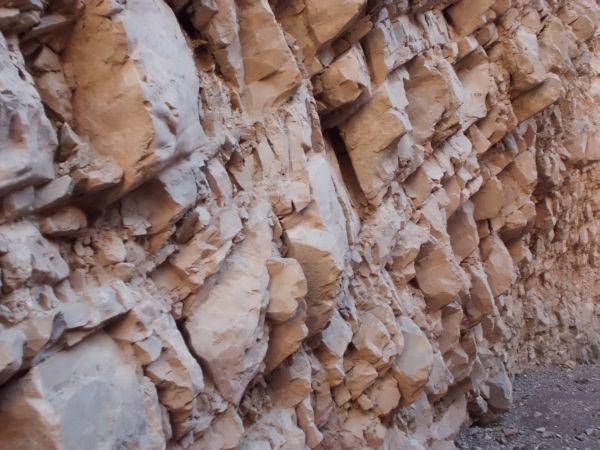
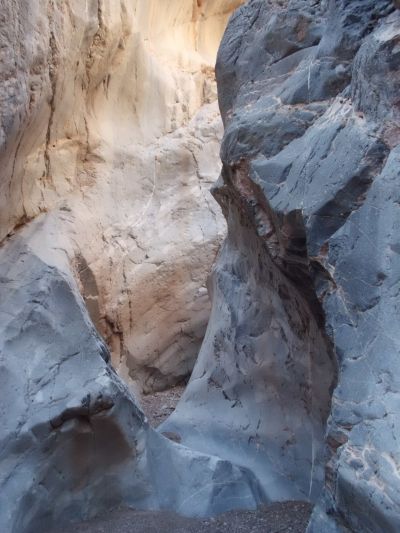
A close-up of the rock walls of the 2nd Narrows. Definitely a unique texture to the rocks:
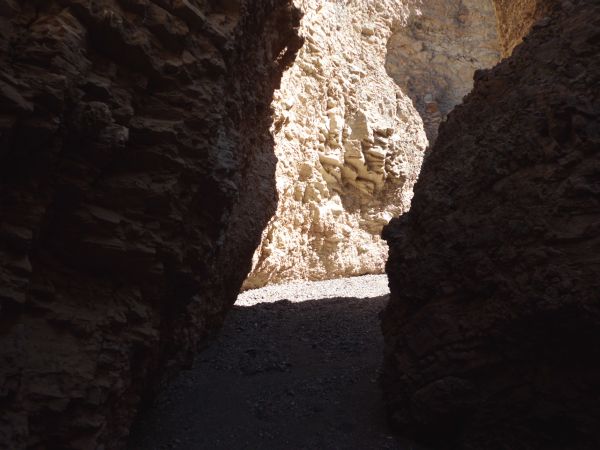
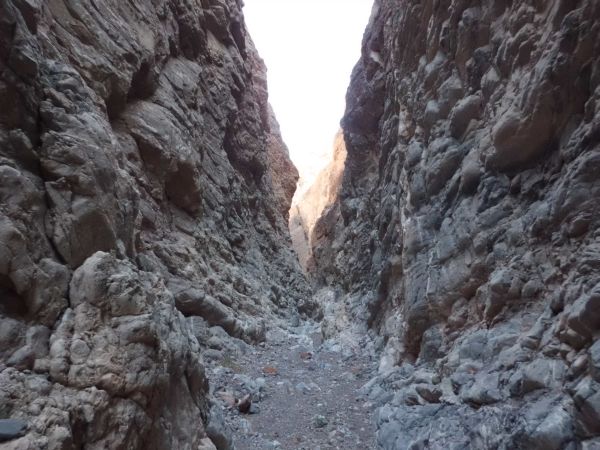
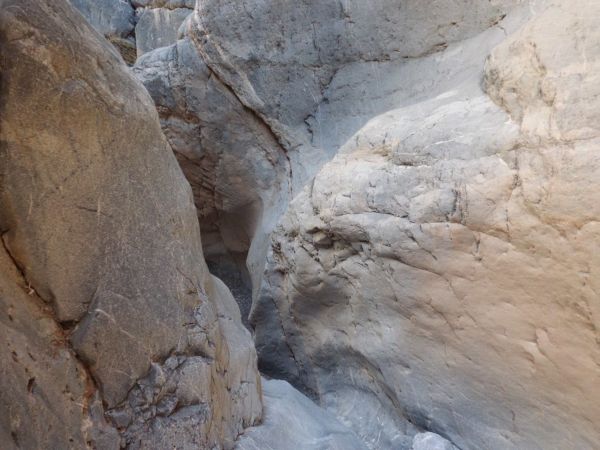
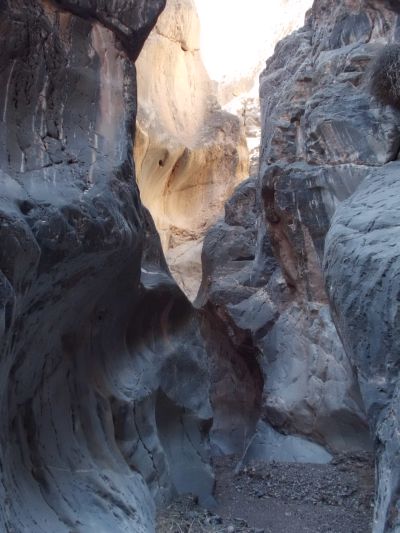
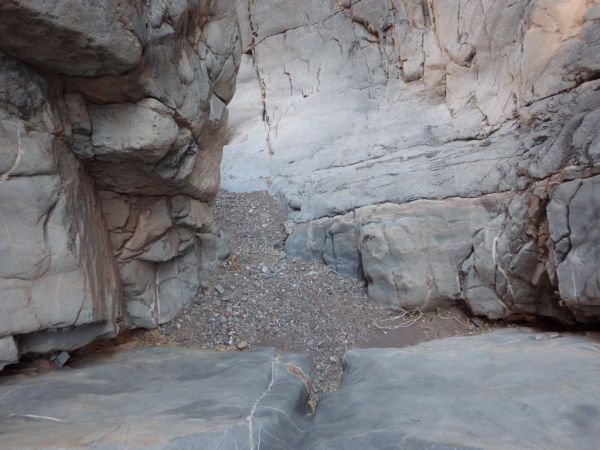
Exiting the 2nd Narrows up ahead after an enchanting walk through them:
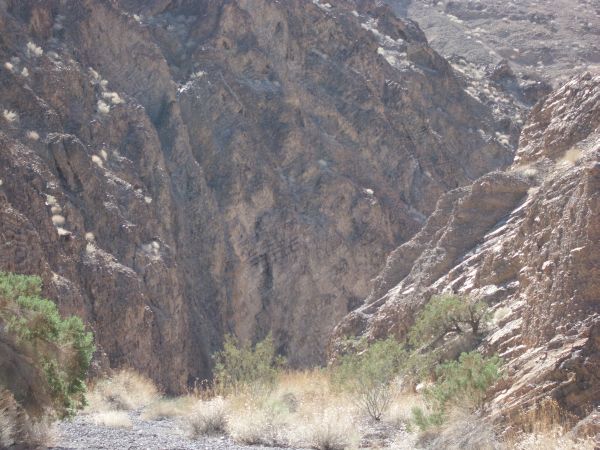
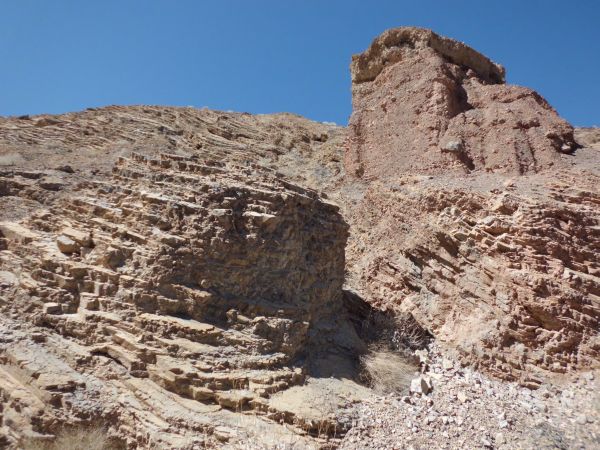
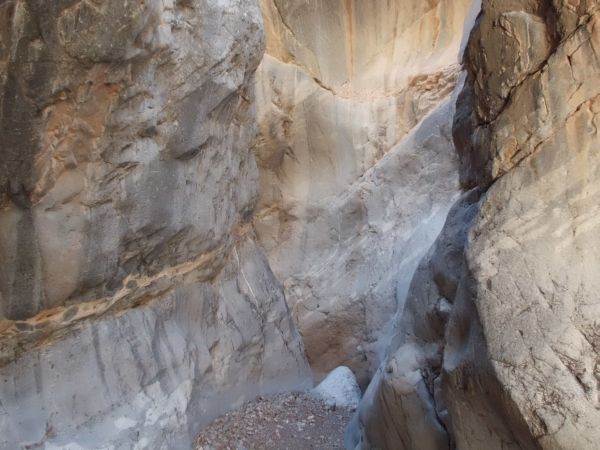
This picture shows the left side canyon walls in between the 2nd and 3rd Narrows. Looking at this, you can see why we had trouble finding a bypass to get down here from the upper canyon. The rock walls were too high and there were no safe routes:
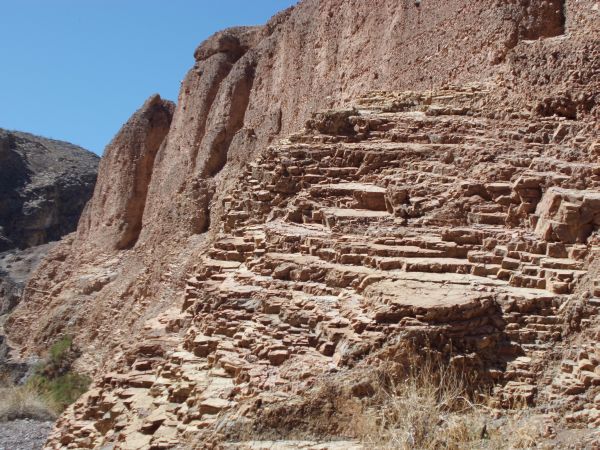
And these were the walls on the right side. Same problem, no easy bypasses. But as you can see, the rock steps leading halfway up the wall are very pretty:
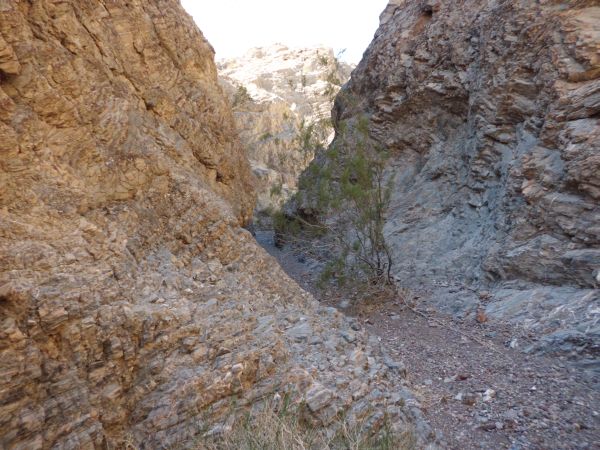
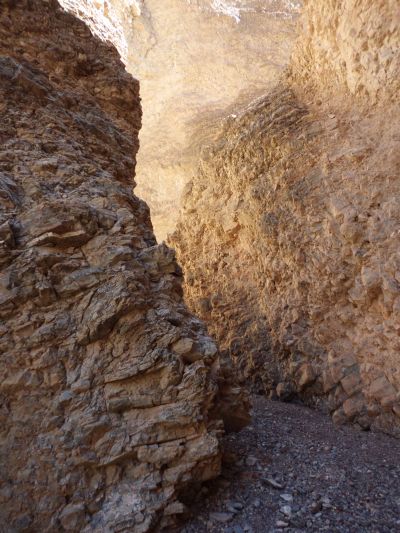
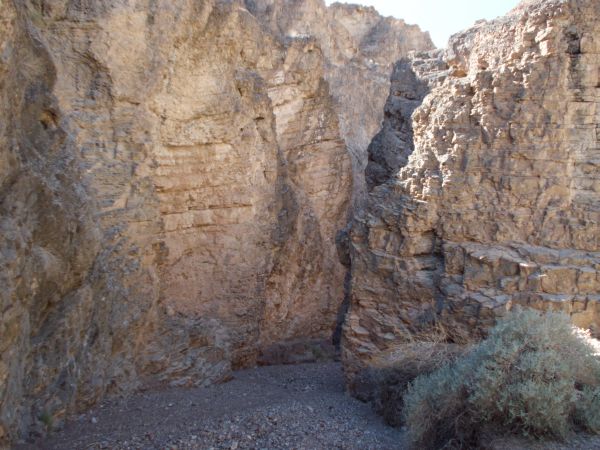
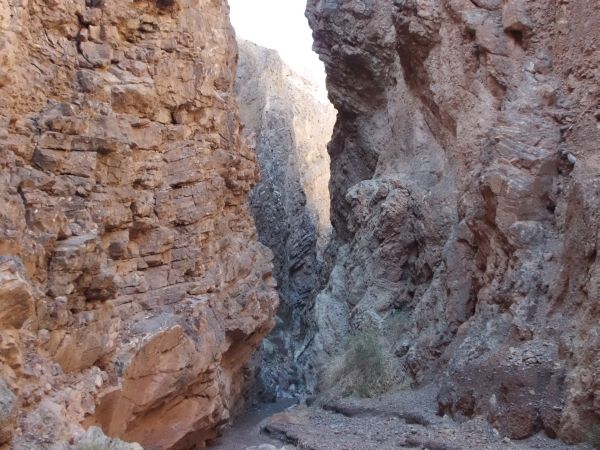
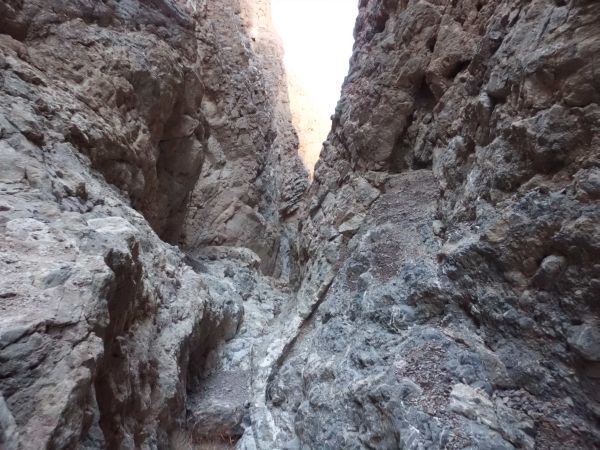
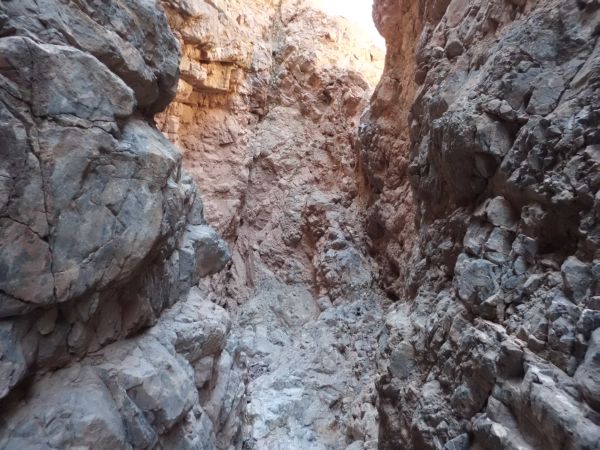
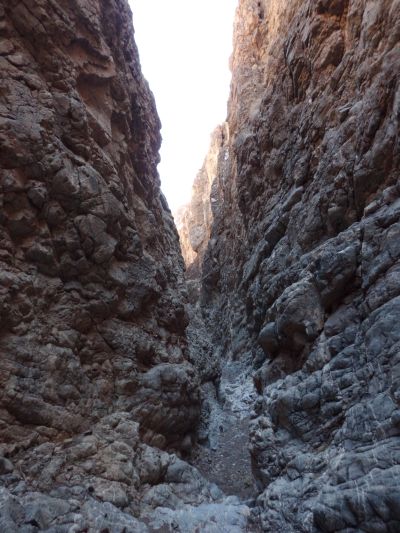
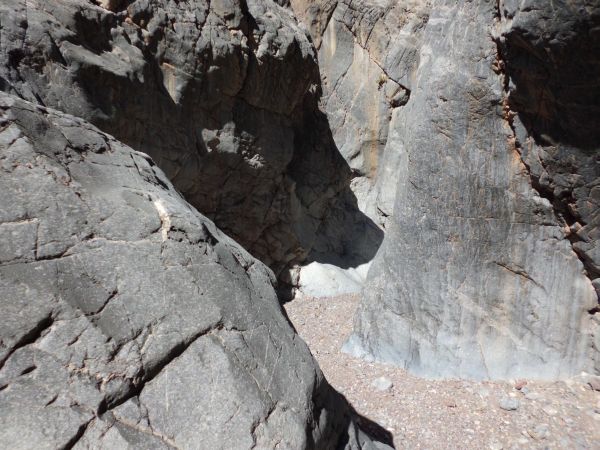
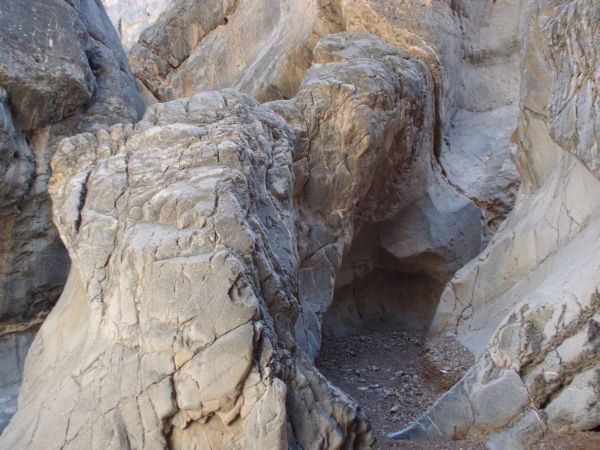
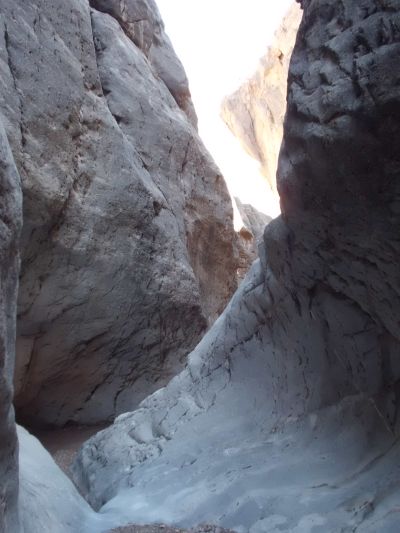
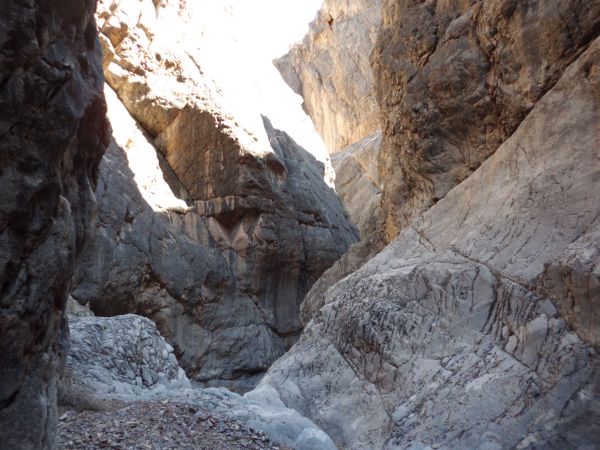
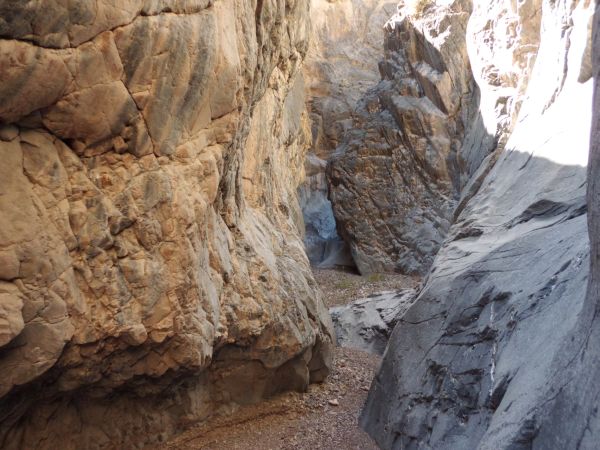
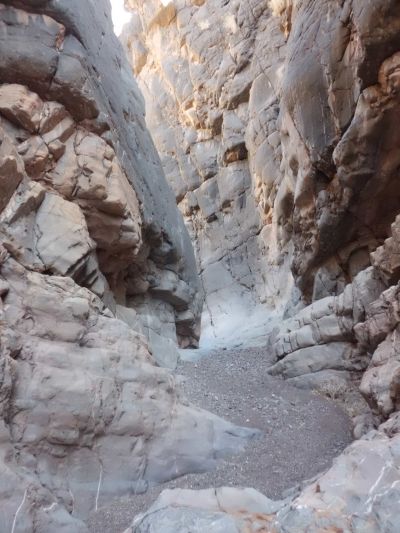
Just ahead I spotted the beginning of the 3rd Narrows:

Positively majestic and beautiful is the best way to describe these long, towering slot narrows:
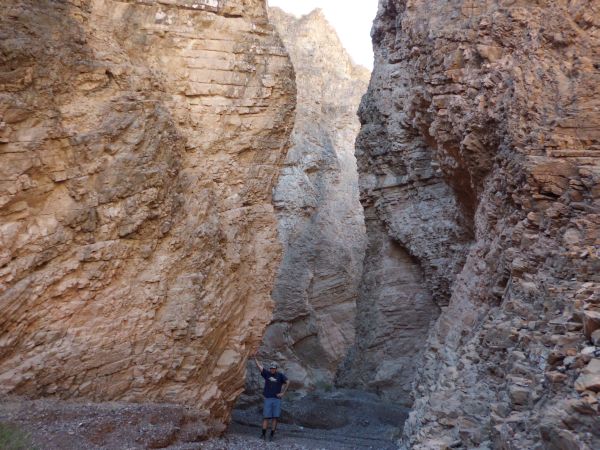
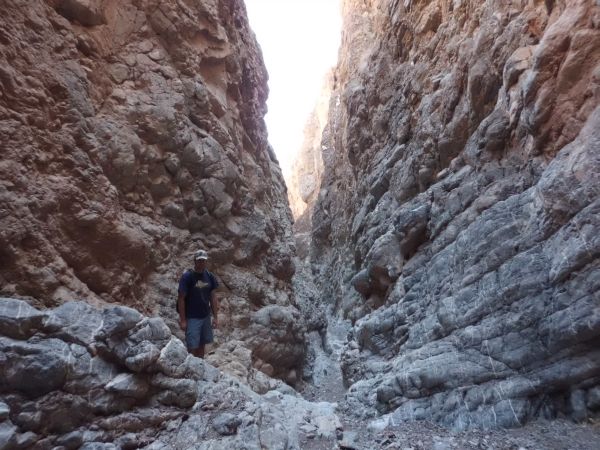
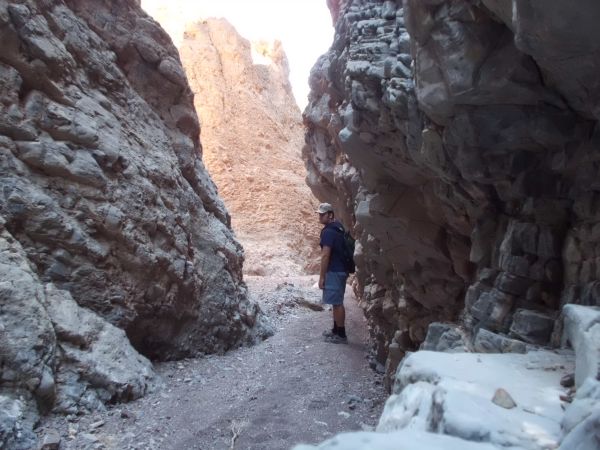
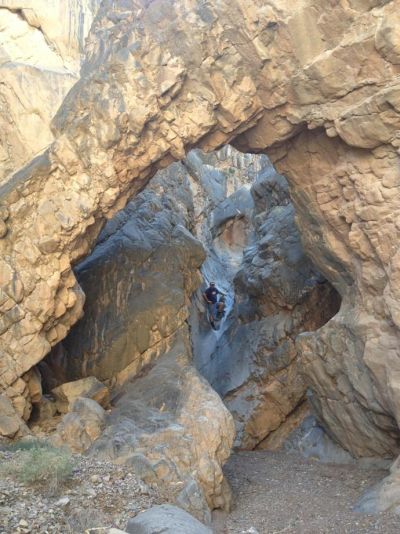
A picture of Steve at the beginning of the 3rd Narrows for scale:
Looking high up the canyon walls. Can you imagine being at the very top of this cliff trying to find a way to bypass down into the canyon? That's what we were doing last time around:
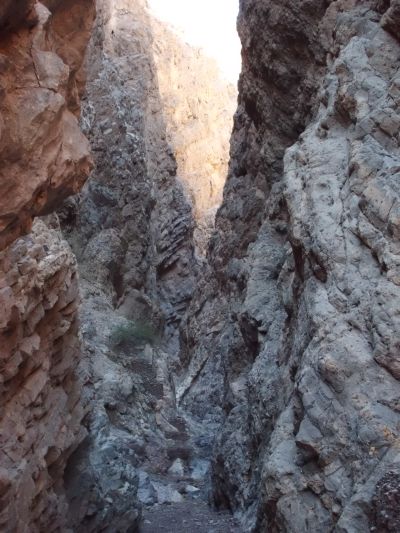
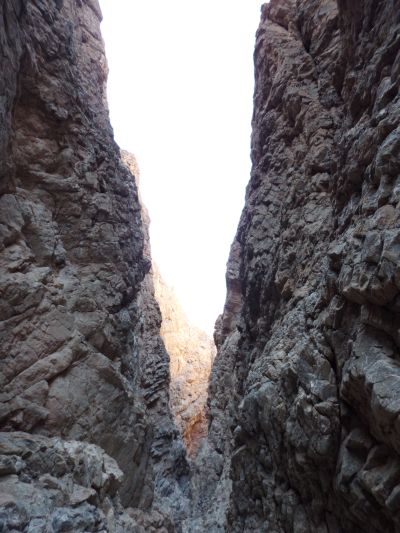
Heading into the depths of the towering slot narrows:
Because it was a mostly straight slot corridor, these narrows reminded me a bit of the slot narrows found in Moonlight Canyon:
Looking high up above me to try to see out of the canyon in between the walls:
Just a very narrow passage to walk on while passing through the slot:
This picture kind of reveals the true essence of what it feels like to walk through here. There is no place quite like it:
Notice, too, the sun was casting a golden glow on the canyon wall in the distance:
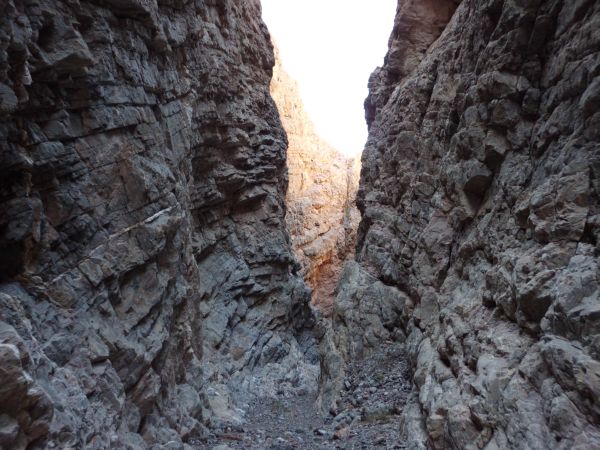
Two more pictures as we got into the depths of the 3rd Narrows:
Up ahead, I could see what looked like the dry fall which had stopped me three months earlier:
Sure enough, this was the same dry fall. In the end, it actually worked out better for this dry fall to have stopped me last time. I say that because it gave me an entire extra hike and reason to come back here:
Turning around and heading back down canyon now through the 3rd Narrows:
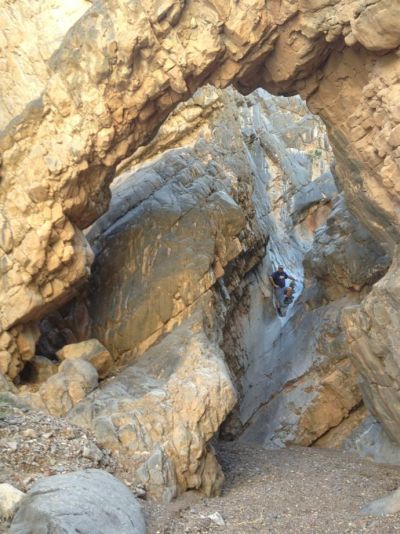
Another picture of Steve in the 3rd Narrows:
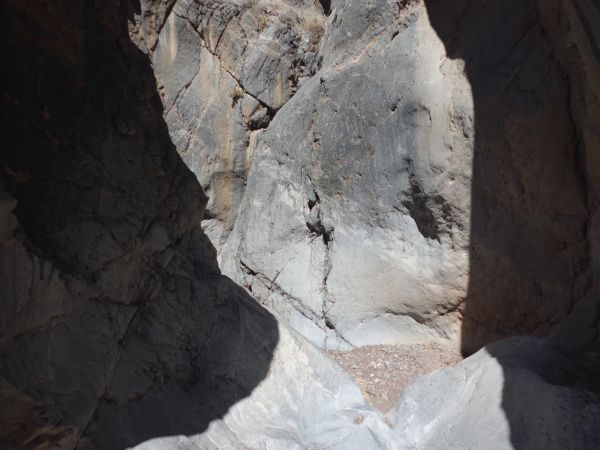
Check out this incredible turn in the canyon walking along a polished surface:
Four more pictures of what it was like to walk back down through the 3rd Narrows:
A short time later, I was walking back through the 2nd Narrows. Here are five more pictures showing what that was like:

Passing by a tree which was growing out of the rock wall of the canyon:
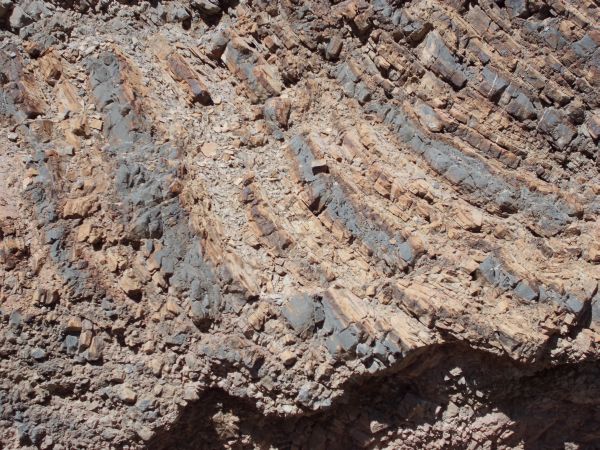
Stripes on the rock with pieces breaking away:
Walking through a pretty section with nice lighting:

After passing back by the place where I had entered the canyon, I now reached the top of the 1st Narrows. The best part of Middle Hidden Bridge Canyon was about to reveal itself:
Because of the location of the sun, the next three pictures show the narrows immersed in sunlight:

But soon the narrows changed direction and the sun was blocked out, allowing for the true beauty of the area to be seen:
The narrows were a lot like the upper narrows in Dry Bone Canyon, only about ten times longer:
Most of the time, the narrows dropped steeply but in a manageable way:
It was quite common for the walls to be close enough together so I could touch both sides:
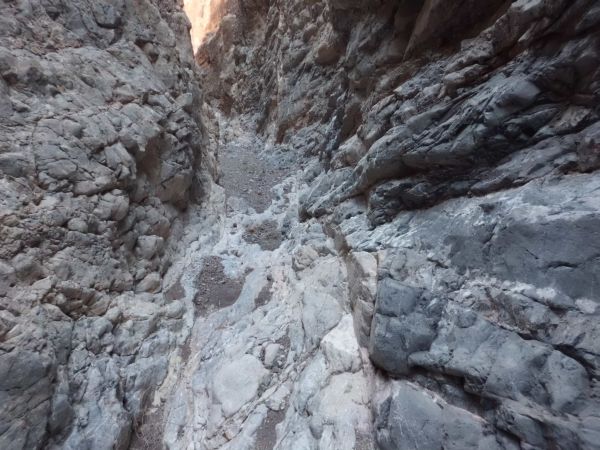
The narrows were filled with washed down rocks from over the years:
Dropping down a small polished dry fall with a boulder wedged in the center:
In this picture, notice how the narrows turn dramatically from one direction to the other:
It is easy to get absolutely immersed in the 1st Narrows because it is so beautiful in here:
Some turns and spots in the narrows are so tight that a person can barely walk through:
Looking high up above the narrows:
As you can see, the narrows are also quite tall much of the way:
A positively beautiful spot with the canyon wall glowing and a boulder stuck between the narrow walls:
More polished walls through the narrows:
One of my favorite spots in the 1st Narrows, the canyon wall almost folds over like a wave:
That same spot in the canyon taken from a different angle:
In the next four pictures, notice how the golden glow contrasts with the blue color of the walls:
A bit more sunlight finding its way into the canyon at this spot:

The canyon changes slightly as more is visible while walking through:
Steve getting a picture in the 1st Narrows. There weren't many spots to set a camera down up until now and take a self-portrait:
The scale of the narrows increased the further down that I hiked:
Walking down a slanted section of rock:


Notice the beautiful streak patterns on the canyon wall in the next two pictures:
Yet another very narrow passage to walk through:
Check out this diagonal section of the narrows which was quite amazing:
I don't have enough superlatives to describe the next six pictures progressing through the 1st Narrows, so just enjoy them:

This was the spot I came to which caused me to stop and study it for five minutes. Notice that a polished chute drops off to the canyon floor below. Why is that such a big deal?:
Because it was the only way up or down in this part of the canyon. So if I slid off this chute and couldn't get back up, we would have a problem:
A close-up of the chute area. What I ended up doing was using the boulder seen on the right side for support in going up and down:

From even further back, you can see that the chute is the only way up and down:
These are the same beautiful patterns which had caught my attention in the lower canyon some three years earlier:

Three more pictures as I hiked in between the chute fall and the 1st dry fall of the canyon:
Arriving at the top of the 1st dry fall and looking down at Tiffany and Javan underneath Hidden Bridge in the next two pictures:
Tiffany hopelessly trying to find a way up the 1st dry fall to join me:
A higher view showing the entire 1st dry fall. You can see why it is impossible to get up it from the bottom:
A wider view of that same shot. There are no bypasses for this 1st dry fall without exiting the canyon:
A view that shows the dry fall and Hidden Bridge in the same picture. I almost decided to just slide down this dry fall but in the end came to my senses and realized that it could result in a broken leg:
Tiffany took the next two pictures of Steve from down below, showing him with the 1st dry fall and Hidden Bridge. These pictures are definitely classics:
With that, it was time to turn around and head back up canyon:
As you can see, not a lot of options for bypassing out in the midst of the narrows:
It was just as fantastic hiking back out as it had been coming down earlier:
Finally, I found a potential bypass route on the right side going back up. Here I have hiked up and am looking back down over the edge of the narrows:
I found this steep rock shelf to walk up and try to attain the opposite ridge on:
Looking back down the rock shelf and into the abyss of the narrows. Quite a scary and intimidating view:
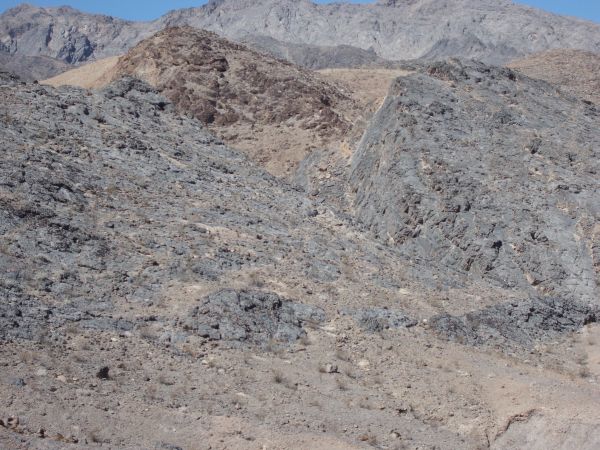
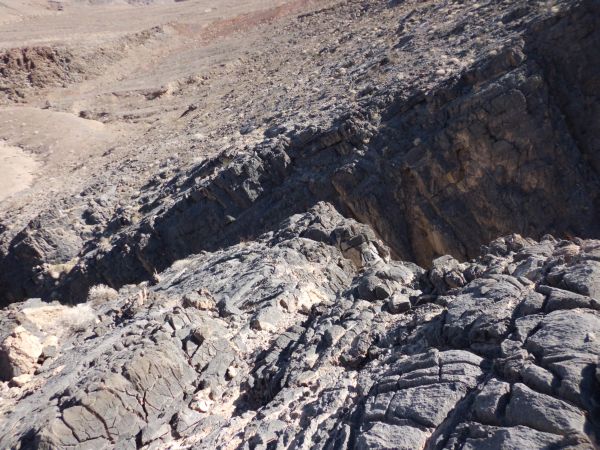
The view of the middle canyon from up on the bypass. The 2nd and 3rd Narrows are further ahead out of view:
And finally coming back down the other side of the bypass and looking over towards where the first picture had been taken several hours earlier. Hidden Bridge Canyon is quite spectacular the way it cuts a passage directly through the rock. It truly is one of Death Valley's very best canyons. Perhaps the very best of them all:
